Standardize the patient, not just the camera. For laser hair-removal evaluation, use the same anatomical position, camera-to-patient distance, viewing angle, lighting, and preparation at every visit. Positioning should be defined by treatment zone so that changes in hair density reflect treatment effects rather than rotation, tilt, or altered exposure.
The core rule: Reproduce the baseline position as precisely as possible at every follow-up. Use anatomical landmarks, fixed supports, and a camera perpendicular to the target area to make before-and-after images reliably comparable.
Why Positioning Must Be Standardized
Separate treatment effects from photographic variation
Small changes in head rotation, limb position, or camera angle can alter the apparent density and direction of hair. A standardized position ensures that observed differences are more likely to represent genuine treatment response.
Create repeatable clinical evidence
Consistent images allow clinicians to assess hair-density reduction, changes in hair caliber, skin texture, and adverse effects such as post-inflammatory hyperpigmentation. They also provide an objective record for treatment planning and patient communication.
Use the same setup at every visit
Record the patient at a fixed distance with consistent lighting, exposure, background, and camera settings. The patient should also follow the same preparation protocol, including removal of makeup, jewelry, and distracting accessories.
Standard Positioning by Treatment Zone
Facial region
Capture both a tight headshot and a close-up of the specific treatment area. The patient should face forward with a neutral expression and a forward gaze unless the protocol requires a different view.
Control rotation by ensuring that both ears are visible to approximately equal degrees. Align the head with the Frankfurt Line, which runs from the external auditory meatus to the inferior orbital rim, to control head tilt.
Use forehead and chin supports when available. Keep the lens perpendicular to the facial plane, and move the patient or camera stage rather than tilting the camera.
Axilla
Ask the patient to place the palm of the hand on the back of the neck. Rotate the body approximately 30 degrees anteriorly so the axillary treatment area is fully exposed.
Use the same arm position and body rotation on every occasion. Repeat the setup for the opposite axilla rather than relying on a mirrored or improvised position.
Bikini area
Position the patient facing forward with the feet approximately 10 inches apart. One foot should point forward, while the other is rotated approximately 90 degrees externally with the leg slightly flexed.
Photograph each side by rotating the corresponding leg in turn. Maintain the same stance, camera height, field of view, and degree of exposure at baseline and follow-up visits.
Neck and submental region
Position the patient standing and extend the head approximately 30 degrees from the Frankfurt Line, according to the clinic’s defined protocol. This exposes the submental and anterior neck treatment area consistently.
Because neck extension can substantially change the visible contour of the area, measure and reproduce the angle carefully. Do not substitute the general facial position of a neutral, unextended head for this zone-specific protocol.
Control the Camera–Patient Relationship
Keep the lens perpendicular
The camera lens should be perpendicular to the target anatomy. Tilting the camera instead of repositioning the patient can introduce perspective distortion and change the apparent proportions of the treatment area.
Fix distance and framing
Use a dedicated photo stage, floor marks, or a fixed camera mount to maintain the same distance and magnification. Include the same anatomical landmarks and field of view in every image.
Maintain consistent lighting
Use identical ambient lighting, flash settings, and exposure parameters for baseline and follow-up photographs. Position the patient in a stable environment and avoid glare or overexposure that could obscure fine hair and skin texture.
Build a Reproducible Workflow
Define the protocol before treatment begins
Document the required position, camera angle, distance, lighting, and views for each anatomical zone. Take baseline photographs before the first treatment using the same protocol intended for subsequent visits.
Use positioning aids
Headrests, forehead and chin supports, foot markings, and arm-position instructions reduce variation between sessions. These aids are especially useful when different staff members capture the photographs.
Capture consistent views
For each zone, take the same number and type of images at every visit. A clinic may use an overview image plus one or more close-ups, provided the sequence and framing remain consistent.
Preserve patient dignity and consent
Explain the required position before photography, obtain appropriate consent, and use privacy measures for intimate areas. Consistency should never require unnecessary exposure or compromise patient comfort.
Understanding the Trade-offs
Maximum exposure versus natural positioning
Positions that expose more hair may not resemble the patient’s normal posture. This is acceptable when the position is clinically necessary, but it must be clearly defined and reproduced at every session.
Precision versus workflow speed
Supports, fixed camera mounts, and marked staging areas take additional time to set up. They reduce repeated positioning errors and are usually worthwhile when treatment outcomes are being assessed across many sessions.
Close-up detail versus broader clinical context
A close-up improves visibility of individual hairs, while a wider image shows the treatment area and surrounding anatomy. Using both provides stronger documentation than relying on either view alone.
Apparent improvement versus true improvement
Changes in lighting, hair length, shaving status, or camera exposure can create the impression of hair reduction. Standardized positioning is therefore necessary but not sufficient; patient preparation and imaging parameters must also remain consistent.
How to Apply This to Your Protocol
Use a written, zone-specific photography checklist and have staff verify positioning before each image.
- If your primary focus is facial hair evaluation: Use a forward-facing neutral head position, equal ear visibility, Frankfurt Line alignment, and a lens perpendicular to the face.
- If your primary focus is axillary hair evaluation: Keep the palm on the back of the neck and reproduce the approximately 30-degree anterior body rotation for each axilla.
- If your primary focus is bikini-area evaluation: Maintain the 10-inch foot spacing, external rotation, slight knee flexion, and repeatable side-by-side leg positions.
- If your primary focus is neck or submental evaluation: Reproduce the approximately 30-degree head extension from the Frankfurt Line using the same camera height and field of view.
- If your primary focus is quantitative comparison: Fix the camera distance, lighting, exposure, and magnification, and use supports or stage markings to reduce positioning variation.
A disciplined positioning protocol turns clinical photographs into reliable evidence of laser hair-removal progress rather than inconsistent visual impressions.
Summary Table:
| Treatment Zone | Key Positioning Requirements |
|---|---|
| Facial Region | Forward-facing, head aligned with the Frankfurt Line, equal ear visibility, lens perpendicular to the face. |
| Axilla | Palm on back of neck, body rotated ~30° anteriorly, same arm and body position each visit. |
| Bikini Area | Feet ~10 inches apart, one foot forward, other externally rotated ~90°, leg slightly flexed. |
| Neck & Submental | Head extended ~30° from Frankfurt Line, reproduce exact angle and camera settings. |
| General | Fixed distance, perpendicular lens, consistent lighting, use positioning aids, and follow a written checklist. |
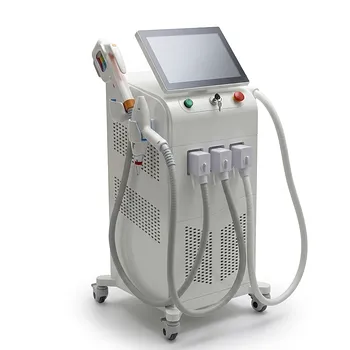
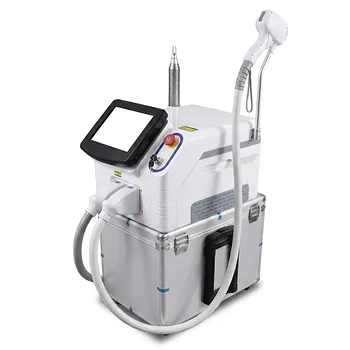
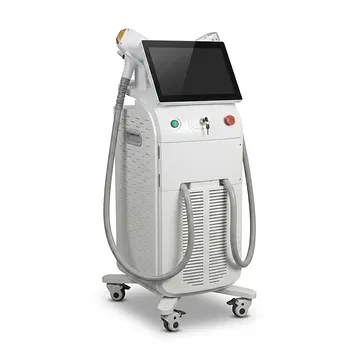
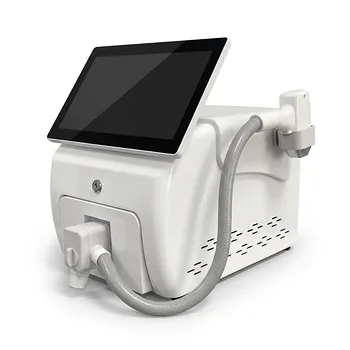
Ensure reliable, repeatable clinical photography for your laser hair removal practice. Contact BELIS today to explore our advanced laser systems and imaging solutions designed for clinics and premium salons. Let us help you enhance treatment outcomes and patient satisfaction with professional-grade equipment and support.
Related Products
- 808nm Diode Laser Hair Removal Machine 755+808+1064nm Mixed Wavelength Professional Equipment
- 808nm Diode Laser Hair Removal Machine and Equipment with Picolaser Arm
- Diode Tri Laser Hair Removal Machine for Clinic Use
- Diode Laser SHR Trilaser Hair Removal Machine for Clinic Use
- Tri Laser Diode Hair Removal Machine Professional Beauty Equipment
People Also Ask
- How do 800–810 nm Diode hair removal lasers compare to 1064 nm Long-Pulsed Nd:YAG lasers in terms of hair reduction efficacy and patient comfort? Discover Key Differences for Optimal Hair Removal
- How do 800/810 nm diode hair removal lasers compare to 1064 nm long-pulsed Nd:YAG lasers? Discover the Best for Your Patients
- What ocular safety protocols are required when operating diode or alexandrite hair removal lasers near the periorbital area? Essential eye protection and shielding for safe treatment.
- How can aesthetic practitioners prevent side effects like paradoxical hair regrowth and thermal burns when performing diode laser hair removal on dark skin? Master safe protocols for Fitzpatrick IV–VI skin.
- How do broad-spectrum noncoherent light sources compare to single-wavelength diode lasers in aesthetic hair removal applications? Find the best fit for your clinic.