Shorten the incubation before increasing light intensity. For acne photodynamic treatments using IPL or blue/red light, a practical optimization is to replace traditional 3–4-hour occluded incubation with a carefully monitored 30–60-minute contact period, where appropriate for the photosensitizer and device protocol. This can preserve treatment activity while reducing widespread phototoxicity, pain, erythema, crusting, exfoliation, and patient downtime.
The objective is not the longest incubation or highest fluence; it is the lowest total treatment burden that achieves adequate photosensitizer activation in the pilosebaceous unit. Clinics should validate short-contact protocols against the specific photosensitizer, wavelength, fluence, skin type, and regulatory device instructions.
Why Incubation Time Controls Downtime
Longer exposure increases phototoxic load
Topical ALA or m-ALA photosensitizers accumulate in the pilosebaceous unit and are converted to protoporphyrin IX. Light activation then generates singlet oxygen, which can suppress P. acnes and selectively injure sebaceous glands.
The same mechanism can also stimulate epidermal nerve endings and produce stinging, burning, erythema, edema, scaling, crusting, and post-inflammatory hyperpigmentation. Longer or occluded incubation generally increases the amount of photosensitizer available for activation, including in unwanted superficial epidermal sites.
Short incubation can improve the recovery profile
A 30–60-minute incubation can provide sufficient localized accumulation for acne treatment while reducing excess epidermal phototoxicity compared with traditional multi-hour protocols.
This is particularly valuable for patients who cannot tolerate visible peeling, crusting, or several days of social downtime. However, short incubation should be treated as a protocol to validate—not as an automatic replacement for every established regimen.
How to Build a Safer Short-Incubation Protocol
Match the incubation to the photosensitizer
Photosensitizer formulation matters. More lipophilic formulations such as m-ALA may allow shorter incubation in some protocols, while other formulations, concentrations, or vehicles may require longer contact times.
Operators should document the product concentration, application thickness, contact time, occlusion status, and removal method. The manufacturer’s instructions, local regulations, and the supervising clinician’s protocol take priority over generalized timing ranges.
Start with a conservative contact window
For suitable acne patients, clinics can evaluate a 30–60-minute non-occluded or appropriately controlled incubation before light activation. This should be supported by a staged rollout, such as treating a small area or limited number of patients before adopting the protocol broadly.
A longer incubation—such as 1–3 hours—may be considered when the clinical objective or validated device protocol requires more photosensitizer accumulation. It should not be used simply because longer exposure appears intuitively more powerful.
Apply the photosensitizer consistently
Uneven application creates uneven activation. Operators should use a standardized quantity, consistent coverage, and a defined application technique, particularly around the nose, jawline, temples, and other areas where sebaceous activity varies.
Avoid unnecessary occlusion unless it is specifically part of the validated protocol. Occlusion can increase absorption and may also increase phototoxicity, discomfort, and recovery time.
Choose Light Parameters for the Treatment Target
Use wavelength according to penetration depth
Sebaceous glands are approximately 0.5–1.0 mm beneath the skin surface. Red light around 630–635 nm generally provides greater dermal penetration and is more suitable when the target includes deeper pilosebaceous structures.
Blue light around 409–410 nm acts more superficially and may be useful for surface microbial and inflammatory targets. IPL can provide broader-spectrum activation, but its spectrum, filters, pulse structure, and fluence must be matched to the photosensitizer and treatment objective.
Reduce energy density before extending recovery
Short incubation does not justify compensating with an aggressive light dose. Excessive fluence or a high fluence rate can increase singlet oxygen generation in the epidermis, worsening pain and phototoxic reactions.
For active acne, lower fluences delivered over multiple passes—rather than a high-energy single pass—may improve comfort and reduce pigmentation risk. Published protocols have used values such as 8–9 J/cm² in particular device settings, but this is not a universal prescription; fluence must be validated for the specific platform and indication.
Use cooling and appropriate pulse characteristics
Active contact cooling, chilled air, or intermittent cooling can reduce treatment discomfort and help protect the epidermis. Longer pulse widths and larger spot sizes may also improve tolerance when supported by the device’s intended use.
Cooling should be applied consistently and documented, because inconsistent cooling can create uneven treatment effects. Ice or chilled air may be used during and immediately after exposure, while local anesthetics should be selected and applied only under an appropriate clinical protocol.
Create a Patient-Specific Safety Screen
Identify pigmentation and photosensitivity risks
Patients with Fitzpatrick skin types III and darker may have a higher concern for post-inflammatory hyperpigmentation after inflammation or crusting. Conservative fluence, multiple lower-energy passes, effective cooling, and shorter incubation can reduce—but cannot eliminate—that risk.
Screen for active photosensitivity, relevant medications, recent tanning, a history of abnormal wound healing, and prior reactions to photosensitizers or light-based procedures. Defer treatment when the patient’s risk profile or skin condition makes predictable recovery unlikely.
Set expectations before treatment
Patients should understand that short incubation reduces downtime; it does not guarantee an absence of redness, swelling, stinging, or peeling. Explain the expected recovery window, warning signs, photoprotection requirements, and when the clinic should be contacted.
Patients should avoid direct sunlight and bright light exposure for the period specified by the photosensitizer and device protocol. A common precaution is strict light avoidance for approximately 72 hours, combined with protective clothing and a physical-barrier sunscreen when appropriate.
Monitor the treatment endpoint
Do not use redness alone as a proxy for adequate photosensitizer activation. Record patient-reported discomfort, erythema, edema, fluence, pulse settings, number of passes, cooling method, and post-treatment appearance.
If a patient develops disproportionate pain, blistering, marked swelling, extensive crusting, or prolonged erythema, stop escalating treatment parameters and follow the clinic’s adverse-event pathway.
Integrate Incubation into a Low-Downtime Workflow
Standardize the sequence
A reproducible workflow should define:
- Skin preparation and degreasing.
- Photosensitizer quantity and application pattern.
- Incubation duration and whether occlusion is used.
- Photosensitizer removal before activation.
- Wavelength, fluence, pulse settings, and number of passes.
- Cooling during exposure.
- Immediate post-treatment care and photoprotection instructions.
Standardization makes it possible to determine whether a reaction was caused by incubation, light dose, uneven application, cooling, or patient-specific susceptibility.
Use staged optimization rather than simultaneous changes
Do not change incubation, fluence, wavelength, pulse width, and cooling at the same time. Adjust one major variable at a time and compare outcomes such as lesion clearance, pain scores, erythema duration, crusting, pigmentation, and patient-reported downtime.
This approach helps the clinic identify the minimum effective protocol instead of relying on anecdotal impressions that a more aggressive treatment is better.
Track throughput without sacrificing safety
High-efficiency IPL or pulsed-light systems may allow full-face activation in less than 10 minutes, reducing chair time and improving operational efficiency. That benefit is meaningful only when the shortened session does not lead operators to increase fluence unnecessarily.
The safest throughput improvements usually come from preparation, standardized application, predictable incubation timing, and efficient cooling—not from bypassing screening or post-treatment counseling.
Understanding the Trade-offs
Shorter is not always more effective
A 30–60-minute incubation may reduce side effects, but some patients or treatment goals may respond better to a longer validated contact period. Inadequate incubation can reduce photosensitizer accumulation and may lead to weaker clinical results or the temptation to overcompensate with higher light energy.
Clinical response should therefore be assessed over a treatment series, not judged only by the immediate erythema endpoint.
Longer incubation may improve efficacy but increase reactions
Extending incubation from approximately one hour to three hours may improve some outcomes, but it also tends to increase temporary erythema, edema, scaling, pain, and downtime. Traditional 3–4-hour occluded protocols are particularly prone to intense phototoxic responses.
The appropriate comparison is not “strong treatment versus weak treatment.” It is adequate treatment versus unnecessary phototoxic exposure.
IPL and blue/red light are not interchangeable
Different devices have different spectra, pulse structures, cooling systems, spot sizes, and energy-delivery characteristics. A timing or fluence used with one platform should not be transferred directly to another.
Blue light may be better suited to superficial targets, while red light generally offers deeper penetration toward sebaceous structures. IPL requires especially careful attention to filters and the relationship between its emitted spectrum and the photosensitizer’s activation profile.
How to Apply This to Your Clinic
Use short-incubation optimization as a controlled clinical quality-improvement process rather than a universal timing rule.
- If your primary focus is minimizing downtime: Evaluate a validated 30–60-minute incubation with conservative light settings, active cooling, and non-occlusive application where appropriate.
- If your primary focus is inflammatory acne clearance: Match the wavelength to the target, using red light for deeper pilosebaceous structures and blue light for more superficial targets, while avoiding high-energy single passes.
- If your primary focus is treating darker skin types safely: Use lower fluence or fluence rate, multiple controlled passes, strong cooling, careful screening, and close monitoring for post-inflammatory hyperpigmentation.
- If your primary focus is clinic throughput: Standardize preparation, application, incubation timing, activation, and aftercare rather than shortening safety checks or increasing energy.
- If your primary focus is protocol validation: Track pain, erythema duration, edema, crusting, pigmentation, lesion response, and patient-reported downtime for each combination of photosensitizer, device, and parameter set.
The most reliable low-downtime protocol is the least aggressive, fully validated combination of incubation, wavelength, fluence, cooling, and patient selection that still produces consistent acne improvement.
Summary Table:
| Optimization Step | Key Actions | Impact on Downtime/Side Effects |
|---|---|---|
| Incubation Duration | Use 30-60 min non-occluded contact; validate with photosensitizer | Reduces epidermal phototoxicity, pain, erythema, crusting |
| Photosensitizer | Match lipophilicity (e.g., m-ALA) and application consistency | Minimizes uneven activation and reactions |
| Light Parameters | Select wavelength (red for deeper, blue for superficial), conservative fluence (e.g., 8-9 J/cm²), multiple passes | Lowers singlet oxygen overproduction, decreases pain and pigmentation risk |
| Cooling & Pulse | Use active cooling, longer pulse widths, larger spot sizes | Improves tolerance, protects epidermis |
| Patient Screening | Assess skin type, photosensitivity, medications; set expectations | Prevents severe reactions, guides conservative settings |
| Workflow Standardization | Standardize preparation, application, incubation, activation, aftercare | Ensures reproducible protocols, aids in tracking outcomes |
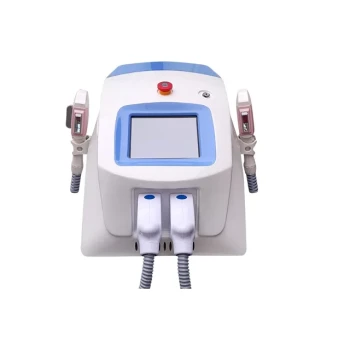
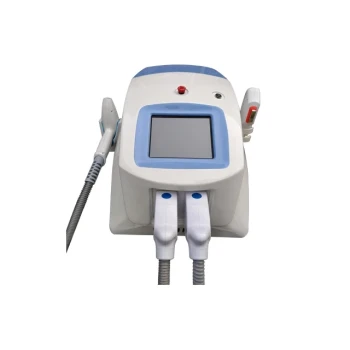
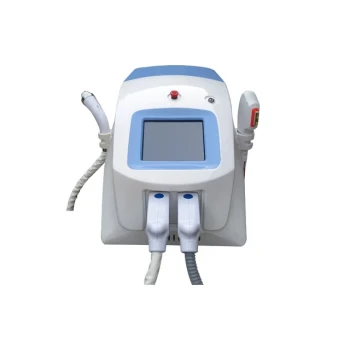
Elevate your clinic's acne PDT outcomes with precision protocols that minimize downtime and side effects. At BELIS, we specialize in professional-grade IPL and light therapy devices tailored for clinics and premium salons. Our advanced systems, like the IPL and PDT devices, are designed to integrate seamlessly into low-downtime workflows. Contact us today to discover how our technology can enhance patient satisfaction and clinic efficiency. Contact us to schedule a consultation.
Related Products
- IPL SHR Hair Removal Machine for Permanent Hair Removal
- Clinic Use IPL SHR ND YAG Laser Hair Removal RF Skin Tightening Machine
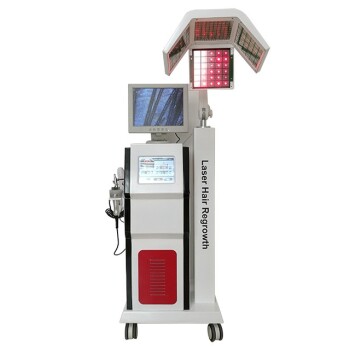
- Multifunctional Laser Hair Growth Machine Device for Hair Growth
- Cryolipolysis Fat Freezing Machine Cavitation Lipo Laser Machine
- Clinic Use IPL and SHR Hair Removal Machine with Nd Yag Laser Tattoo Removal
People Also Ask
- How does an IPL SHR machine achieve long-term hair reduction compared to traditional methods? Professional Tech Guide
- How does the frequency of IPL SHR sessions compare to traditional laser hair removal? Maximize Comfort and Efficiency
- How does IPL SHR technology accommodate a wide range of skin types and hair colors? Safe Solutions for All Skin Tones
- How does the safety mechanism of IPL SHR technology protect the surrounding skin tissue? Advanced Protection Guide
- Why is the IPL SHR hair removal process described as painless and comfortable for the patient? Discover the Tech.