The key difference is where the fiber delivers energy and how closely the treatment must be monitored. Impression Nd:YAG treatment places the bare fiber against an accessible mucosal surface and uses power up to 5 W to project energy beneath the surface while preserving the outer tissue. Interstitial treatment inserts the fiber through a protective Teflon or intravenous catheter directly into a deep vascular lesion, requiring a stricter 4–5 W power range and mandatory real-time color-coded duplex sonography (CCDS).
Impression treatment is surface-applied and comparatively simple to position, while interstitial treatment is a controlled intralesional procedure. The interstitial approach offers access to very deep lesions but has a narrower power margin and requires continuous imaging and temperature surveillance.
How the Two Techniques Deliver Nd:YAG Energy
Impression Technique
In the impression technique, the bare optical fiber is pressed against an accessible mucosal surface, such as the conjunctiva or oral mucosa. Curved fiber holders can help maintain stable contact and direct the laser energy into tissue beneath the surface.
The outer mucosal surface is intended to remain intact while the underlying vascular lesion receives thermal energy. This approach is therefore suited to lesions that can be reached through a mucosal surface without puncturing deeply into the lesion.
Interstitial Technique
The interstitial technique is used for extremely deep subcutaneous lesions, including deep hemangiomas and some high-flow vascular anomalies. The fiber is introduced directly into the lesion through a protective Teflon or intravenous catheter.
The fiber tip should extend approximately 5 mm beyond the end of the cannula. This reduces the risk of heating or damaging the protective sheath during treatment.
Why the Delivery Route Matters
Impression delivery treats tissue from outside the lesion, whereas interstitial delivery deposits laser energy within the lesion itself. Direct intralesional delivery can improve access to deep targets, but it also places the fiber tip close to tissue that can carbonize or burn if energy is excessive.
Power Limitations and Exposure Control
Impression Power Limit
The impression technique operates at a maximum power of 5 W. The source material does not specify the same narrow 4–5 W operating requirement for impression treatment that applies to interstitial applications.
Because the fiber remains at the mucosal surface, the operator must still avoid excessive thermal transfer to the overlying tissue. Preserving the mucosal surface is a central objective of the technique.
Interstitial Power Range
Interstitial power must be maintained strictly between 4 W and 5 W. Exceeding 5 W can cause immediate carbonization at the bare fiber tip.
Carbonization is clinically important because it can produce localized thermal burning, degrade the fiber, and interfere with uniform radiation distribution. The result may be uneven coagulation rather than consistent treatment across the target.
Exposure Duration
The supplementary guidance identifies a maximum exposure duration of 180 seconds per target site at moderate power levels, such as 5 W. Power and exposure duration should therefore be treated as linked controls: even an acceptable power setting can create unwanted thermal injury if exposure continues too long.
Treatment duration should follow the applicable device and clinical protocol. The 180-second limit should not be interpreted as a universal substitute for lesion-specific judgment or real-time monitoring.
Monitoring Requirements
Impression Monitoring
The primary reference does not identify mandatory CCDS for impression treatment. Since the fiber is applied to an accessible mucosal surface, positioning is generally established by direct contact and the external anatomy.
Surface observation remains important, particularly because the treatment is designed to preserve the overlying mucosa. The absence of a mandatory CCDS requirement does not eliminate the need for clinical judgment and thermal awareness.
Interstitial Imaging
Real-time color-coded duplex sonography is mandatory for interstitial applications. It serves several functions during the procedure:
- Guides placement of the catheter and fiber within the lesion.
- Confirms the spatial relationship between the fiber and the vascular target.
- Allows observation of the intralesional color bruit, indicating the vascular response.
- Helps the operator assess treatment progress while energy is being delivered.
A pilot beam or ultrasound guidance may also be used to improve spatial positioning before and during fiber placement.
Temperature Surveillance
The skin overlying the target must be monitored continuously during interstitial treatment. The reference describes tactile monitoring, while the primary source emphasizes continuous assessment of overlying skin temperature.
The purpose is to detect excessive heat before it injures superficial tissue or nearby nerves. This is particularly important because deep coagulation can transmit heat toward the skin even when the laser fiber is positioned within the lesion.
Understanding the Trade-offs
Impression: Easier Access, More Limited Depth
The impression technique avoids direct puncture of the lesion and is appropriate when the vascular target is accessible through mucosa. Its principal limitation is that it is not designed for extremely deep subcutaneous targets.
The operator must also maintain reliable fiber contact and control the applied power so that the mucosal surface remains intact.
Interstitial: Better Deep Access, Narrower Safety Margin
Interstitial treatment can reach lesions that cannot be adequately treated from the surface. However, the fiber is surrounded by lesion tissue, making power errors more consequential.
The narrow 4–5 W range, limited exposure duration, accurate positioning, and continuous monitoring are not optional refinements. They are central safety controls for avoiding carbonization, uneven energy distribution, burns, nerve injury, and surface scarring.
Common Protocol Errors
A major error is treating the interstitial power limit as a flexible starting point. Settings above 5 W can rapidly carbonize the fiber tip and compromise both tissue control and energy delivery.
Another error is advancing the fiber without confirming its position or failing to monitor the overlying skin. Direct fiber placement and ongoing CCDS are required because the target and surrounding structures cannot be judged reliably from the skin surface alone.
Choosing the Appropriate Protocol
The correct technique depends primarily on lesion depth, accessibility, and the ability to monitor the treatment field. The two approaches should not be considered interchangeable versions of the same procedure.
Making the Right Choice for Your Goal
Use the following distinctions when selecting or evaluating a treatment protocol:
- If your primary focus is accessible mucosal lesions: Use the impression technique with a curved fiber holder and keep power at or below 5 W, while protecting the overlying mucosal surface.
- If your primary focus is extremely deep subcutaneous lesions: Use interstitial fiber placement through a protective catheter with power strictly limited to 4–5 W.
- If your primary focus is procedural safety: For interstitial treatment, use real-time CCDS, confirm the fiber position, observe the intralesional color bruit, and continuously monitor overlying skin temperature.
- If your primary focus is preventing fiber or tissue damage: Keep the fiber tip approximately 5 mm beyond the cannula, avoid power above 5 W, and limit exposure to the applicable protocol, including the cited maximum of 180 seconds per target site.
The safest protocol is the one that matches the delivery route to lesion depth while treating power, exposure time, imaging, and temperature monitoring as a single integrated safety system.
Summary Table:
| Aspect | Impression Technique | Interstitial Technique |
|---|---|---|
| Fiber Placement | Against mucosal surface | Inserted through catheter into lesion |
| Power Range | Up to 5 W | Strictly 4–5 W |
| Max Exposure | Not specified | 180 seconds per site |
| Monitoring | Surface observation | Mandatory CCDS, temperature monitoring |
| Best For | Accessible mucosal lesions | Deep subcutaneous lesions |
Elevate your vascular lesion treatments with BELIS's advanced Nd:YAG and other aesthetic laser systems, designed for clinics and premium salons. Our professional-grade equipment ensures precision, safety, and efficacy. Contact us today to learn how our technologies can enhance your practice and patient outcomes. Get in touch now!
Related Products
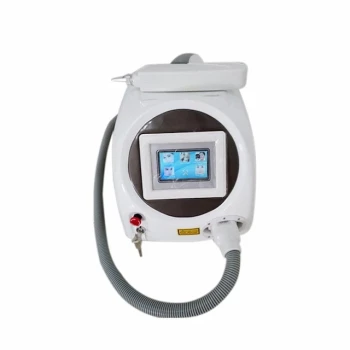
- Q Switch Nd Yag Laser Machine Tattoo Removal Nd Yag Machine
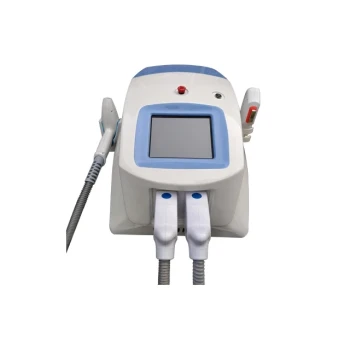
- Clinic Use IPL and SHR Hair Removal Machine with Nd Yag Laser Tattoo Removal
- Clinic Use IPL SHR ND YAG Laser Hair Removal RF Skin Tightening Machine
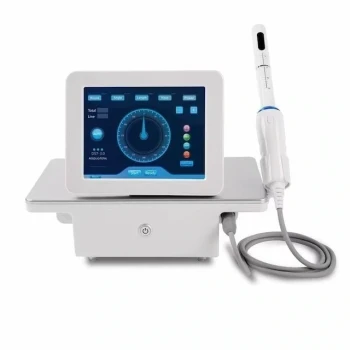
- Vaginal Tighten HIFU Gynecology HIFU Treatment
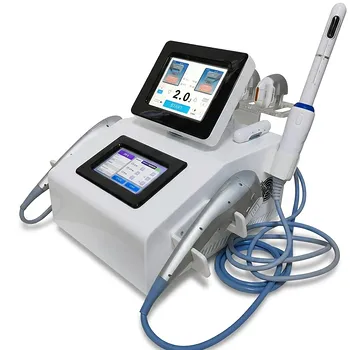
- Professional Face and Vaginal 7D HIFU System for HIFU Clinic Treatments
People Also Ask
- What is the documented effectiveness of Q-switched Nd:YAG lasers for tattoo removal? Gold Standard Results
- How does laser fluence influence pigment clearance vs. safety? Balancing Speed and Skin Integrity in Tattoo Removal
- What pigment compositions and particle properties should practitioners evaluate before operating Q-switched Nd:YAG lasers for tattoo removal? Evaluate pigment composition and particle size for safe, effective tattoo removal.
- How should wavelength and fluence settings be adjusted on Nd:YAG and Q-switched lasers when treating darker skin tones? Optimize Safety & Efficacy
- Which laser modalities and treatment schedules are recommended for clinical laser tattoo removal procedures? Q-Switched Nd:YAG and 6–12 Week Intervals Preferred for Safe, Effective Results