Clinicians can standardise facial laser hair-removal photographs by controlling head rotation, head tilt, and camera alignment. Position the patient so both ears are visible to a similar degree, align the head with the Frankfurt Line, and keep the camera lens perpendicular to the facial area being documented. Use a dedicated photo stage with repeatable floor and wall marks rather than tilting the camera to compensate for patient positioning.
Reliable before-and-after comparisons depend on changing the patient’s hair—not the photographic geometry. A fixed setup for positioning, lighting, camera distance, and target views makes treatment response easier to evaluate objectively.
Why Standardised Positioning Matters
Photographs must support valid comparison
Facial hair density can appear different when the head is rotated, tilted, or photographed from varying distances. Standardised positioning ensures that apparent changes are more likely to reflect treatment response rather than altered perspective.
Documentation supports clinical decisions
Consistent photographs help clinicians assess progress across treatment sessions, identify areas requiring further treatment, and explain realistic outcomes to patients. They also provide a clearer record of treatment efficacy and skin changes over time.
How to Control the Patient’s Head Position
Control head rotation using the ears
To control rotation around the vertical axis, position the patient so that both ears are visible to approximately equal degrees. If one ear is substantially more visible than the other, the head is rotated and the facial hair distribution may not be represented symmetrically.
The patient should face directly toward the camera for the standard frontal view. Avoid relying only on the patient’s nose or chin, because these landmarks can appear aligned even when the head is slightly rotated.
Control head tilt using the Frankfurt Line
Align the patient’s head with the Frankfurt Line, which runs from the external auditory opening to the inferior orbital rim. In practical terms, the line should be positioned consistently rather than allowing the chin to drift upward or downward between visits.
This prevents changes in vertical head angle from altering the apparent shape of the face or the visibility of treated hair-bearing areas.
Keep the facial expression neutral
Ask the patient to maintain a relaxed, neutral expression and look straight ahead. Avoid smiling, squinting, raising the eyebrows, or contracting the facial muscles, as these actions can change skin tension and obscure fine hair.
How to Align the Camera
Keep the lens perpendicular to the target anatomy
The camera lens should be perpendicular to the facial area being photographed. This reduces perspective distortion and helps preserve consistent proportions in baseline and follow-up images.
For a frontal facial photograph, the camera should be centred on the face. For a close-up of a specific area, reposition the patient or the dedicated photo stage so the lens remains perpendicular to that target area.
Move the patient instead of tilting the camera
Do not tilt the camera to compensate for a patient whose head is positioned incorrectly. Camera tilt can introduce distortion and make anatomical structures appear displaced.
Correct the patient’s position or adjust the photo stage while keeping the camera level and consistently aligned.
Maintain a fixed camera distance
Use the same camera position, lens, focal length, and framing for each consultation whenever possible. A fixed setup prevents changes in magnification from being mistaken for changes in hair density or treatment area.
Build a Repeatable Facial Photography Protocol
Use defined facial views
A practical facial protocol should include:
- A tight frontal headshot showing the overall facial treatment area.
- A close-up image focused on the specific area of concern, such as the upper lip, chin, jawline, or sideburn region.
- Standardised profile or three-quarter views when the treatment area extends beyond the frontal plane.
Each view should use the same head orientation and camera geometry at every follow-up.
Mark the patient and camera positions
Use positioning marks on the floor or photo stage to indicate where the patient should stand or sit. Wall marks can help reproduce the correct head height and frontal alignment.
Mark the camera position, tripod height, and target distance as well. These simple controls reduce variation between staff members and across treatment sessions.
Prepare the patient consistently
Before photographing, ask the patient to remove makeup, jewellery, and accessories that could obscure the treatment area. Tie back or cover hair where necessary, and maintain the same preparation standard at baseline and follow-up visits.
The skin and hair should be documented under comparable conditions, including similar shaving or hair-growth status when that is clinically relevant to the evaluation.
Standardise the Photography Environment
Use a dedicated, non-reflective background
A dedicated photography space should use a flat-finish, non-reflective background without visual distractions. Consistent backgrounds improve image clarity and reduce colour or contrast changes between visits.
Background selection should avoid introducing colour reflections onto the skin. The reference protocol recommends dark blue backgrounds for lighter skin phototypes and green-to-yellow backgrounds for darker skin phototypes.
Keep lighting and exposure consistent
Use the same lighting arrangement, flash configuration, camera exposure, and approximate patient-to-light distance for baseline and follow-up images. Lighting should minimise facial shadows without overexposing the skin.
Slave flashes, macro flashes, or carefully controlled ambient lighting can be used, provided the setup is stable and repeatable.
Preserve fine hair detail
Excessive flash intensity or an overly short flash distance can wash out skin texture and fine hairs. Check that the images retain sufficient detail to assess hair density, regrowth, and distribution.
Common Positioning Errors to Avoid
Unequal ear visibility
Unequal visibility of the ears is a practical warning sign that the head is rotated. Even a modest rotation can change the apparent density of hair on one side of the face.
Inconsistent chin elevation
A patient who lifts or lowers the chin changes the visible surface area of the upper lip, chin, and neck. Reproduce the Frankfurt Line rather than relying on verbal instructions such as “look slightly up.”
Tilting the camera
Tilting the camera to match a tilted head makes the photographic geometry inconsistent. The camera should remain correctly aligned while the patient’s position is corrected.
Changing the close-up distance
A close-up taken from a different distance or with a different lens setting cannot be compared reliably with the original image. Use fixed marks and documented camera settings for localised treatment areas.
Understanding the Trade-offs
Strict standardisation can feel less natural
A fixed posture may feel slightly formal or uncomfortable for the patient. However, a short, repeatable positioning routine provides more useful clinical information than a relaxed but inconsistent photograph.
Different facial areas require different framing
The ideal framing for the upper lip may not show the jawline or sideburns adequately. Use a consistent overall headshot plus a defined close-up for the treatment area rather than trying to capture every area in one image.
Clinical photographs are not a substitute for examination
Photographs support assessment but do not replace direct examination, treatment-history review, or evaluation of skin response. Hair growth cycles, shaving practices, lighting, and skin changes must still be considered when interpreting treatment results.
Making the Right Choice for Your Goal
A simple written protocol and a marked photography station are usually sufficient to make facial consultations repeatable.
- If your primary focus is treatment comparison: Keep ear visibility, Frankfurt Line alignment, camera distance, framing, and lighting identical at every visit.
- If your primary focus is documenting a localised area: Capture a standard tight headshot plus a perpendicular close-up of the upper lip, chin, jawline, or other target zone.
- If your primary focus is staff consistency: Mark the patient and camera positions, record camera settings, and train all practitioners to use the same positioning checks.
- If your primary focus is patient communication: Use consistent images to demonstrate progress while explaining that laser hair removal requires a treatment series and may require ongoing maintenance.
A controlled photographic setup turns facial laser hair-removal documentation from subjective snapshots into a dependable clinical comparison.
Summary Table:
| Key Step | Purpose |
|---|---|
| Control head rotation (ears) | Symmetrical facial view |
| Align Frankfurt Line | Consistent head tilt |
| Keep lens perpendicular | Reduce distortion |
| Unchanged camera distance | Stable magnification |
| Neutral expression | Prevent skin tension artifacts |
| Dedicated background & lighting | Consistent image quality |
| Mark positions & settings | Reproducible setup |
Ready to enhance your clinic's documentation standards? BELIS offers professional laser systems and imaging guidance tailored for clinics and premium salons. Contact us today to learn how our aesthetic technology can support your practice.
Related Products
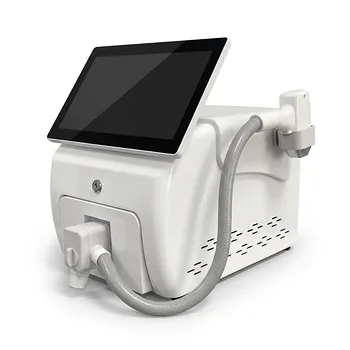
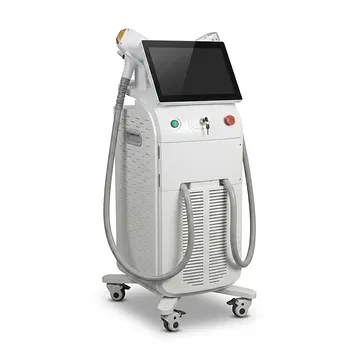
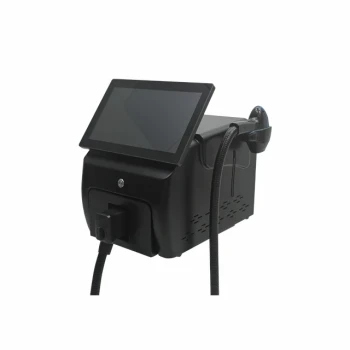
- Tri Laser Diode Hair Removal Machine Professional Beauty Equipment
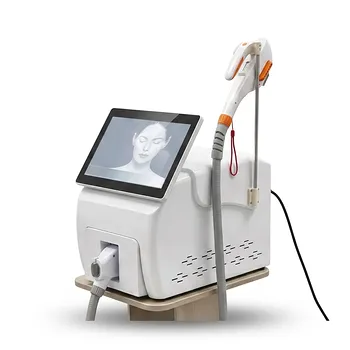
- 808nm Diode Laser Hair Removal Machine 755+808+1064nm Mixed Wavelength Professional Equipment
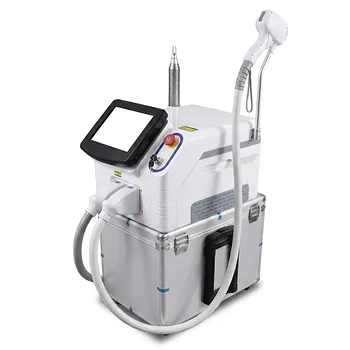
- 808nm Diode Laser Hair Removal Machine and Equipment with Picolaser Arm
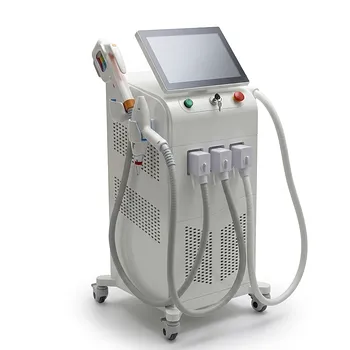
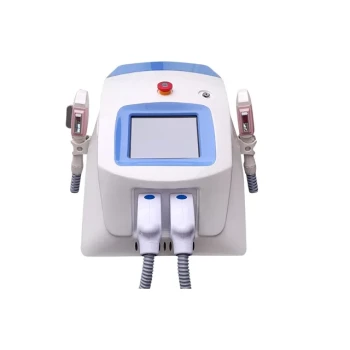
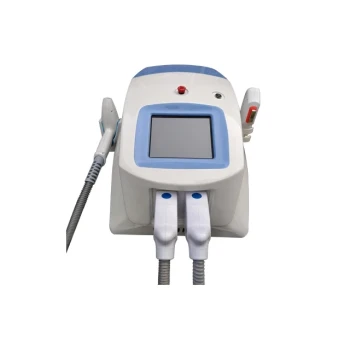
- Professional IPL SHR Hair Removal Machine for Laser and IPL Hair Removal
- Diode Tri Laser Hair Removal Machine for Clinic Use
People Also Ask
- What ocular safety protocols are required when operating diode or alexandrite hair removal lasers near the periorbital area? Essential eye protection and shielding for safe treatment.
- How do 800/810 nm diode hair removal lasers compare to 1064 nm long-pulsed Nd:YAG lasers? Discover the Best for Your Patients
- How do 800–810 nm Diode hair removal lasers compare to 1064 nm Long-Pulsed Nd:YAG lasers in terms of hair reduction efficacy and patient comfort? Discover Key Differences for Optimal Hair Removal
- Why is active skin cooling critical during high-energy aesthetic laser procedures such as diode laser hair removal? Avoid Burns, Pigment Changes, and Scarring
- How can aesthetic practitioners prevent side effects like paradoxical hair regrowth and thermal burns when performing diode laser hair removal on dark skin? Master safe protocols for Fitzpatrick IV–VI skin.