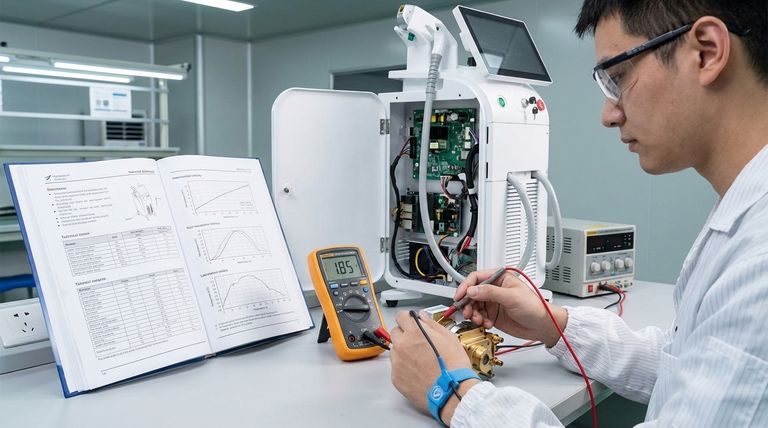
To determine if a diode laser is working, you must go beyond a simple visual check. The definitive method is to verify its electrical characteristics against the manufacturer's datasheet. This involves ensuring your laser diode driver is set correctly and then measuring the forward voltage across the diode to confirm it matches the expected value for a given operating current.
The most common mistake is relying on visual output, which can be misleading or unsafe. A professional diagnosis always involves a systematic electrical check to confirm the diode is operating within its specified parameters, which definitively isolates the fault to either the diode or its driver.
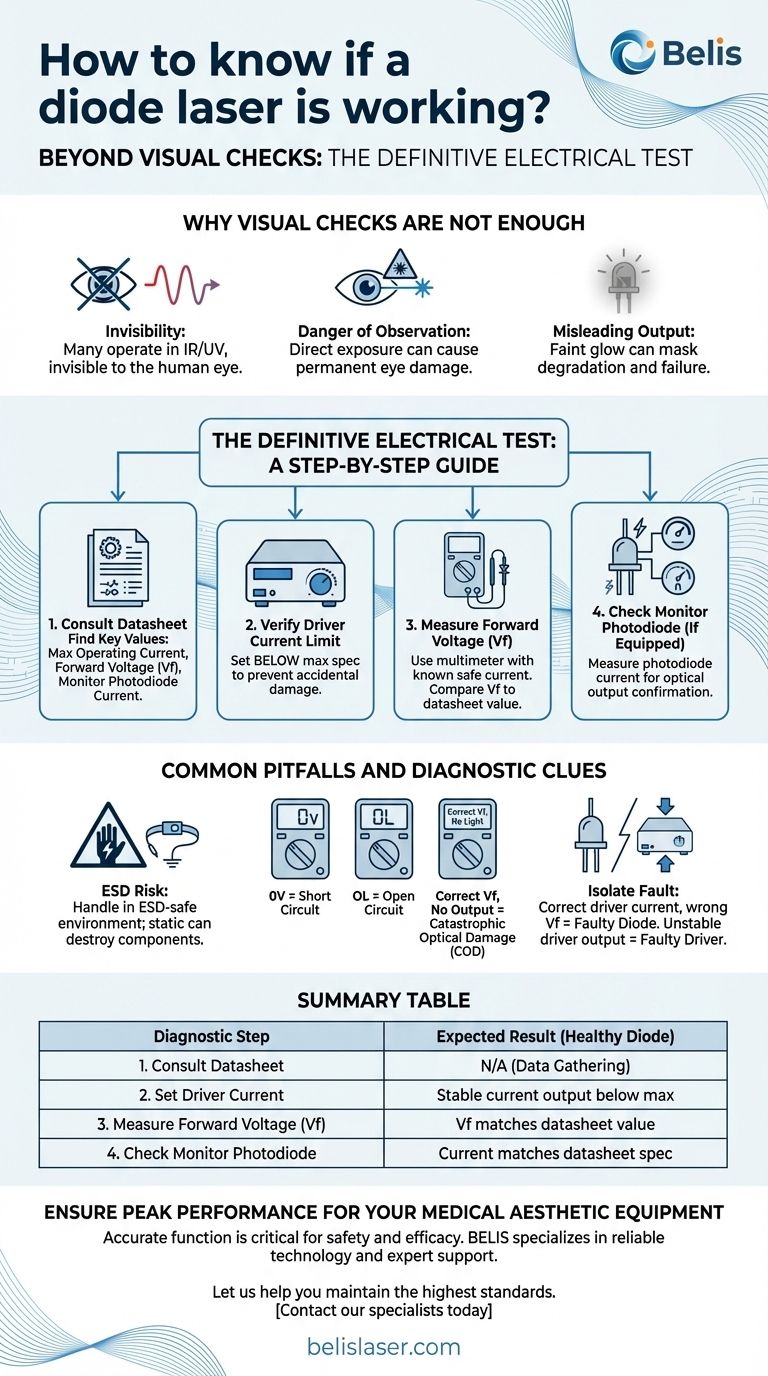
Why Visual Checks Are Not Enough
Relying on your eyes to verify laser operation is often impractical and can be dangerous. It presents several immediate problems that a proper diagnostic method must overcome.
The Problem of Invisibility
Many common diode lasers operate outside the visible spectrum, in the infrared (IR) or ultraviolet (UV) ranges. These beams are completely invisible to the human eye, making a visual check impossible.
The Danger of Direct Observation
Even at low power, looking directly into a laser beam can cause permanent eye damage. For visible lasers, the beam is often too intense to observe safely, and attempting to do so is a significant safety risk.
Misleading Output
A diode that is failing may still produce a faint glow. This can lead you to believe the component is working when it has actually degraded far below its required performance level. An electrical test reveals this degradation instantly.
The Definitive Electrical Test: A Step-by-Step Guide
This process systematically confirms the health of the laser diode by treating it as an electronic component, providing clear, unambiguous results.
Step 1: Consult the Datasheet
This is the non-negotiable first step. The datasheet is the source of truth for your component. Locate these key values:
- Maximum Operating Current: The absolute current the diode can handle without being damaged.
- Forward Voltage (Vf): The expected voltage drop across the diode when it's operating at a specific current. This is your primary diagnostic indicator.
- Monitor Photodiode Current (if applicable): The expected output from the internal photodiode that tracks optical power.
Step 2: Verify the Driver's Current Limit
Before powering anything, ensure your laser diode driver's current limit is set well below the maximum operating current specified in the datasheet. This is the single most important step to prevent accidentally destroying the diode during testing.
Step 3: Measure the Forward Voltage (Vf)
With the driver supplying a known, safe operating current, use a multimeter to measure the DC voltage directly across the laser diode's pins.
Compare this measured voltage to the expected Vf from the datasheet. A healthy diode will show a Vf that is very close to the specified value for that current.
Step 4: Check the Monitor Photodiode (If Equipped)
Many laser packages contain a built-in monitor photodiode for power feedback. If yours does, you can measure the current it produces. A healthy photodiode current that corresponds to the datasheet's specification is another strong indicator that the laser is emitting light, even if it's invisible.
Common Pitfalls and Diagnostic Clues
Correctly interpreting the results of your electrical test is crucial for isolating the root cause of a system failure.
The Risk of Electrostatic Discharge (ESD)
Laser diodes are extremely sensitive to ESD. Always handle them in an ESD-safe environment using a grounding wrist strap. A static shock that you can't even feel is more than enough to destroy the component.
Interpreting the Voltage Reading
- A reading of 0V indicates the diode has failed and is now a short circuit.
- A reading of "OL" (over-limit) or a very high voltage indicates the diode has failed and is now an open circuit.
- A correct Vf but no light output suggests Catastrophic Optical Damage (COD), where the diode's light-emitting facet has been destroyed, but the electrical junction remains intact.
Isolating the Fault: Driver vs. Diode
This method elegantly separates the problem. If the driver is set to provide the correct current but the diode's forward voltage is wrong (zero, open, or far from spec), the laser diode is the faulty component.
If you cannot get a stable or correct current output from the driver itself (tested without the diode), then the laser driver is the faulty component.
Making the Right Choice for Your Goal
Use these electrical clues to make a definitive diagnosis and take the appropriate action.
- If the measured forward voltage is 0V or open-circuit: The diode has failed and must be replaced.
- If the forward voltage is correct but there's no output (confirmed by a power meter or zero photodiode current): The diode has suffered optical damage and must be replaced.
- If the driver fails to supply the set current and its output is unstable: The problem lies with the driver or its power supply, and the laser diode is likely fine.
- If the forward voltage and photodiode current match the datasheet: The diode is working perfectly, and the problem is elsewhere in your system.
This methodical approach removes guesswork, ensuring an accurate diagnosis while protecting your valuable components from damage.
Summary Table:
| Diagnostic Step | Key Action | Expected Result (Healthy Diode) |
|---|---|---|
| 1. Consult Datasheet | Find Max Current & Forward Voltage (Vf) | N/A |
| 2. Set Driver Current | Set current limit below the max spec | Stable current output |
| 3. Measure Forward Voltage (Vf) | Measure voltage across diode pins | Vf matches datasheet value |
| 4. Check Monitor Photodiode | Measure photodiode current (if equipped) | Current matches datasheet spec |
Ensure Peak Performance for Your Medical Aesthetic Equipment
Accurate laser diode function is critical for the safety and efficacy of your treatments. Unreliable equipment can lead to inconsistent results and compromise client trust.
BELIS specializes in professional medical aesthetic equipment, providing medical aesthetics clinics and premium beauty salons with reliable, high-performance technology backed by expert technical support.
Let us help you maintain the highest standards. Contact our specialists today to discuss your equipment needs and ensure your devices are operating at their best.
Visual Guide
Related Products
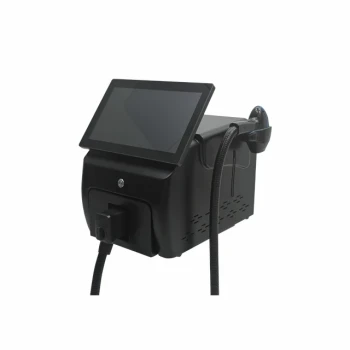
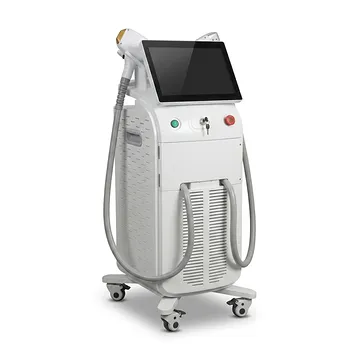
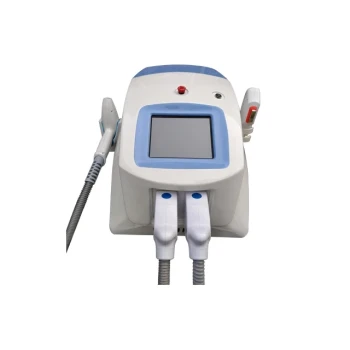
- Diode Laser SHR Trilaser Hair Removal Machine for Clinic Use
- Clinic Diode Laser Hair Removal Machine with SHR and Trilaser Technology
- Trilaser Diode Hair Removal Machine for Beauty Clinic Use
- Diode Tri Laser Hair Removal Machine for Clinic Use
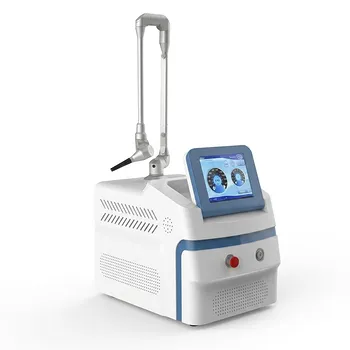
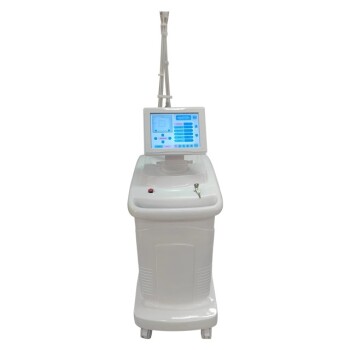
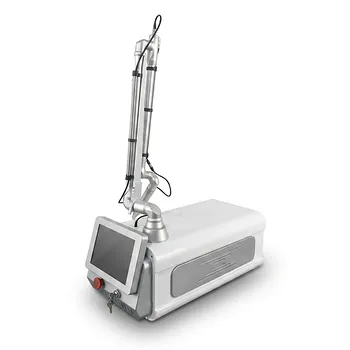
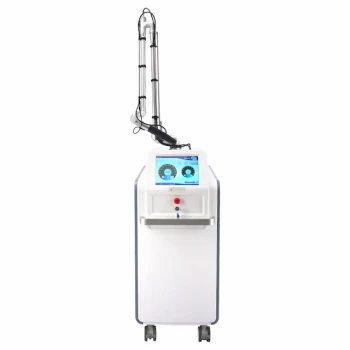
- Pico Picosecond Laser Machine for Tattoo Removal Picosure Pico Laser
People Also Ask
- What are the advantages of a 12.5mm spot size in laser hair removal? Master Deep Penetration and Clinical Speed
- What are the technical advantages of using industrial-grade Diode lasers? Superior Precision for Professional Clinics
- How long does a single laser hair removal session take? Fast & Effective Treatments for Your Busy Schedule
- How many times a week should I use my laser hair removal machine? The Truth About Timing for Optimal Results
- What is the working mechanism of professional-grade Diode laser equipment? Master the Physics of Selective Photothermolysis