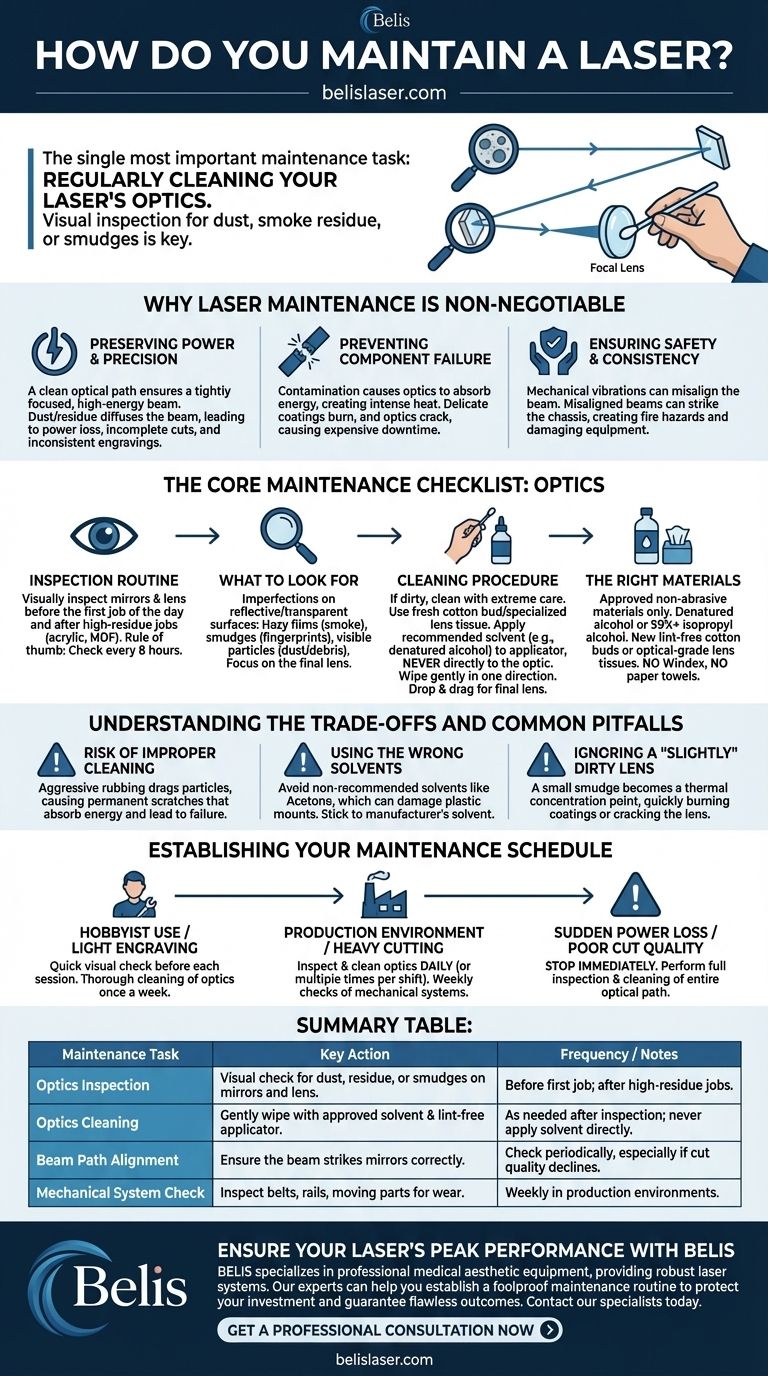
Regularly cleaning your laser's optics is the single most important maintenance task you can perform. The process involves a visual inspection of all mirrors and the final focal lens for dust, smoke residue, or smudges. If any contamination is found, it must be carefully removed using a specific solvent like denatured alcohol and a lint-free applicator to prevent power loss and permanent damage to the components.
Laser maintenance is not a one-time fix but a consistent discipline. While keeping the optical path pristine is the most frequent and critical task, a comprehensive strategy also addresses the machine's mechanical systems to prevent unexpected failures and guarantee repeatable, high-quality results.
Why Laser Maintenance is Non-Negotiable
Ignoring maintenance doesn't just degrade performance; it actively destroys your machine. Heat and contamination are the primary enemies of any laser system.
Preserving Power and Precision
A clean optical path—from the laser tube to the material—is essential for a tightly focused, high-energy beam.
Even a thin layer of dust or smoke residue on a mirror or lens will diffuse the laser beam, spreading its energy over a wider area. This directly translates to a loss of power at the point of contact, resulting in incomplete cuts, inconsistent engravings, and failed jobs.
Preventing Component Failure
Optical components are designed to either reflect or transmit near-perfectly. Contamination disrupts this.
When a lens or mirror is dirty, it absorbs a portion of the laser's energy instead of passing it along. This absorbed energy creates intense localized heat, which can easily cause the delicate coatings to burn or the optic itself to crack, leading to expensive and immediate downtime.
Ensuring Safety and Consistency
A well-maintained machine is a safe and predictable machine.
Over time, mechanical vibrations can cause the beam path to become misaligned. A misaligned beam can strike parts of the machine chassis instead of the intended mirror, creating a fire hazard and damaging the equipment. Consistent maintenance ensures the beam goes exactly where it's supposed to, every time.
The Core Maintenance Checklist: Optics
Your laser's mirrors and lens are its most critical and vulnerable components. Their maintenance should be a frequent, methodical routine.
The Inspection Routine
You must inspect the optics visually before the first job of the day and after any long, high-residue jobs (such as cutting acrylic or MDF). As a general rule, a check after every 8 hours of continuous operation is a reliable baseline.
What to Look For
Look for any imperfection on the reflective or transparent surfaces. This includes hazy films from smoke, smudges from fingerprints, or any visible particles of dust or debris. The final lens, being closest to the work, is often the most susceptible to contamination.
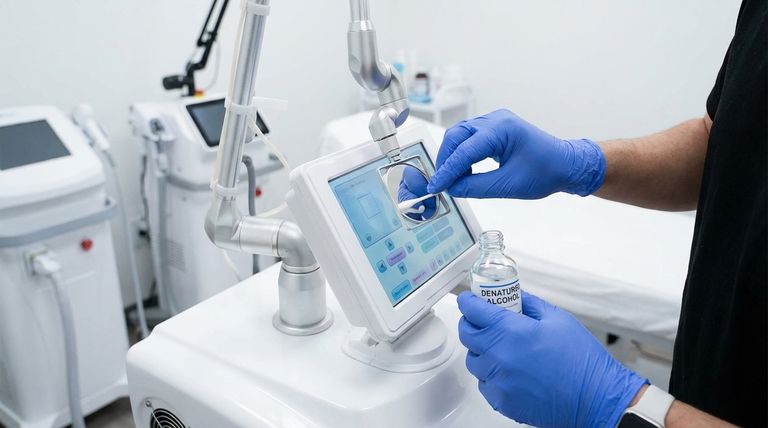
The Cleaning Procedure
If an optic is dirty, clean it with extreme care. Use a fresh cotton bud or specialized lens tissue for each optic to avoid cross-contamination.
Apply a few drops of a recommended solvent, like denatured alcohol, to the applicator. Never apply solvent directly to the optic. Gently wipe the surface in a single direction. For a final lens, a "drop and drag" method with a lens tissue is often preferred to eliminate any chance of scratching.
The Right Materials
Only use approved, non-abrasive materials. Denatured alcohol or high-purity (99%+) isopropyl alcohol are standard solvents.
Use only new, lint-free cotton buds or optical-grade lens tissues. Never use general-purpose cleaners like Windex, which can damage anti-reflective coatings, or paper towels, which are abrasive and will scratch the surface.
Understanding the Trade-offs and Common Pitfalls
Proper procedure is just as important as the act of maintenance itself. Mistakes can be costly.
The Risk of Improper Cleaning
The goal is to remove contaminants without introducing new problems. Aggressively rubbing or using a dirty applicator can drag a hard particle across the surface, causing a permanent scratch. A scratch, like a piece of dirt, can absorb energy and lead to component failure.
Using the Wrong Solvents
Not all solvents are safe. Acetone, for example, can be an effective cleaner for some optics but will damage or destroy the plastic mounts and housings they often sit in. Always stick to the manufacturer's recommended solvent.
Ignoring a "Slightly" Dirty Lens
It is a serious mistake to see a small smudge and decide to "get one more job done." Under the intense energy of a laser beam, that tiny spot becomes a thermal concentration point. This can quickly escalate into a burnt coating or a cracked lens, turning a 30-second cleaning task into a multi-hundred-dollar repair.
Establishing Your Maintenance Schedule
Your ideal maintenance frequency depends entirely on your usage patterns and the materials you work with.
- If your primary focus is hobbyist use or light engraving: A quick visual check before each session and a thorough cleaning of the optics once a week is likely sufficient.
- If you are running a production environment with heavy cutting: You must inspect and clean optics daily, or even multiple times per shift, and perform weekly checks of mechanical systems like belts and rails.
- If you are experiencing sudden power loss or poor cut quality: The first and most critical diagnostic step is to stop work immediately and perform a full inspection and cleaning of your entire optical path.
A proactive maintenance routine is the foundation of reliable and high-quality laser operation.
Summary Table:
| Maintenance Task | Key Action | Frequency / Notes |
|---|---|---|
| Optics Inspection | Visual check for dust, residue, or smudges on mirrors and lens. | Before first job of the day; after high-residue jobs. |
| Optics Cleaning | Gently wipe with approved solvent (e.g., denatured alcohol) and lint-free applicator. | As needed after inspection; never apply solvent directly to the optic. |
| Beam Path Alignment | Ensure the beam strikes mirrors correctly to prevent hazards and damage. | Check periodically, especially if cut quality declines. |
| Mechanical System Check | Inspect belts, rails, and other moving parts for wear. | Weekly in production environments. |
Ensure Your Laser's Peak Performance with BELIS
Is inconsistent power or unexpected downtime affecting your clinic's results and revenue? A poorly maintained laser directly impacts treatment quality and patient satisfaction.
BELIS specializes in professional medical aesthetic equipment, providing robust and reliable laser systems designed for the demanding environment of medical aesthetics clinics and premium beauty salons. Our experts can help you establish a foolproof maintenance routine to protect your investment and guarantee flawless outcomes for every client.
Contact our specialists today to discuss how our equipment and support can enhance your practice's efficiency and profitability.
Get a Professional Consultation Now
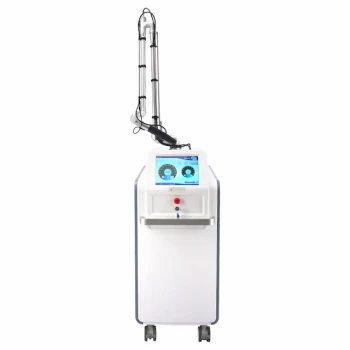
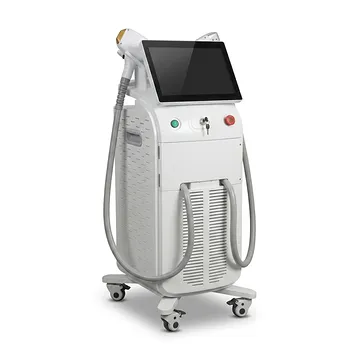
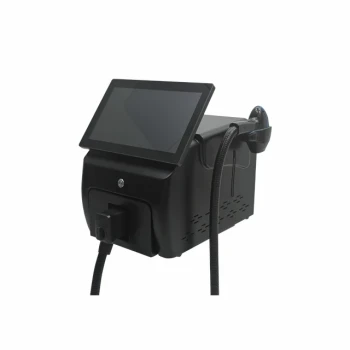
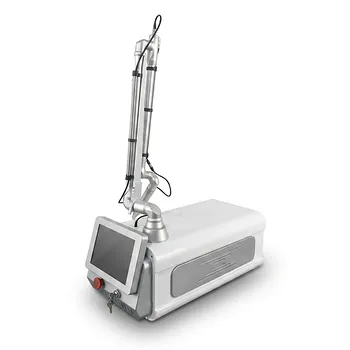
Visual Guide
Related Products
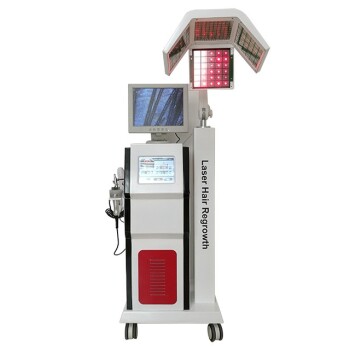
- Multifunctional Laser Hair Growth Machine Device for Hair Growth
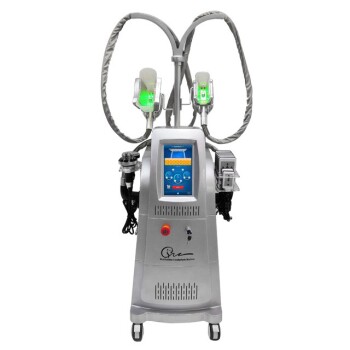
- Cryolipolysis Fat Freezing Machine and Ultrasonic Cavitation Device
- Cryolipolysis Fat Freezing Machine with Cavitation and Laser Lipolysis
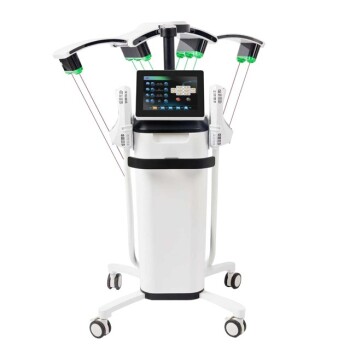
- EMSlim RG Laser Body Sculpting and Slimming Machine
- Multifunctional Laser Hair Growth Machine Device for Hair Growth
People Also Ask
- For what types of hair loss is laser hair therapy a suitable treatment? Expert Solutions for Thinning & Alopecia
- How do professional-grade laser stimulation devices contribute to improving hairline morphology? Revitalize Growth & Symmetry
- How does Low-Level Laser Therapy (LLLT) equipment assist in the treatment of male androgenetic alopecia? Boost Regrowth
- What are the primary benefits of a laser hair growth machine? Revitalize Scalp Health and Boost Follicle Vitality
- For which conditions have laser hair growth treatment devices been approved? Targeted Solutions for Androgenic Alopecia